An easy Khoya recipe

So after I shared the recipe for patishapta last week, I got several enquiries about khoya which made me realise the error of my ways. While some were unaware of khoya, those who live outside India faced availability issues. Indian stores in the United Kingdom, United States, Australia, etc. will definitely sell khoya. But as my elder sister pointed out “I don’t have the time to drive all the way to the Indian market”.
This prompted me to do a bit of research about khoya – also known as mawa – and I have found a quick (relatively) way to make khoya at home.
What is khoya?
Khoya is a dairy product that forms the base of several sweet dishes in India, Nepal, Bangladesh and Pakistan. Made of either dried whole milk or milk thickened by heating in an iron pan, khoya was traditionally made at home by boiling whole milk or milk with high fat content at home. The practice continues in rural homes and at several urban homes. However, most ‘dairy parlours’ stock this product hence we prefer to buy it rather than make it. Khoya is available in various forms. There is a slippery version, then a dry version and even a granular version, among others.
Making khoya at home is ‘fulfilling’ according to maa1 but very time consuming.
The traditional method, which is easily 2 hours and several minutes long, would require you to cook full fat whole milk constantly until you are left with a mix of milk solids and squishy khoya.
I don’t have the patience for that and nor will most of you. So here is a way to make your life easier.
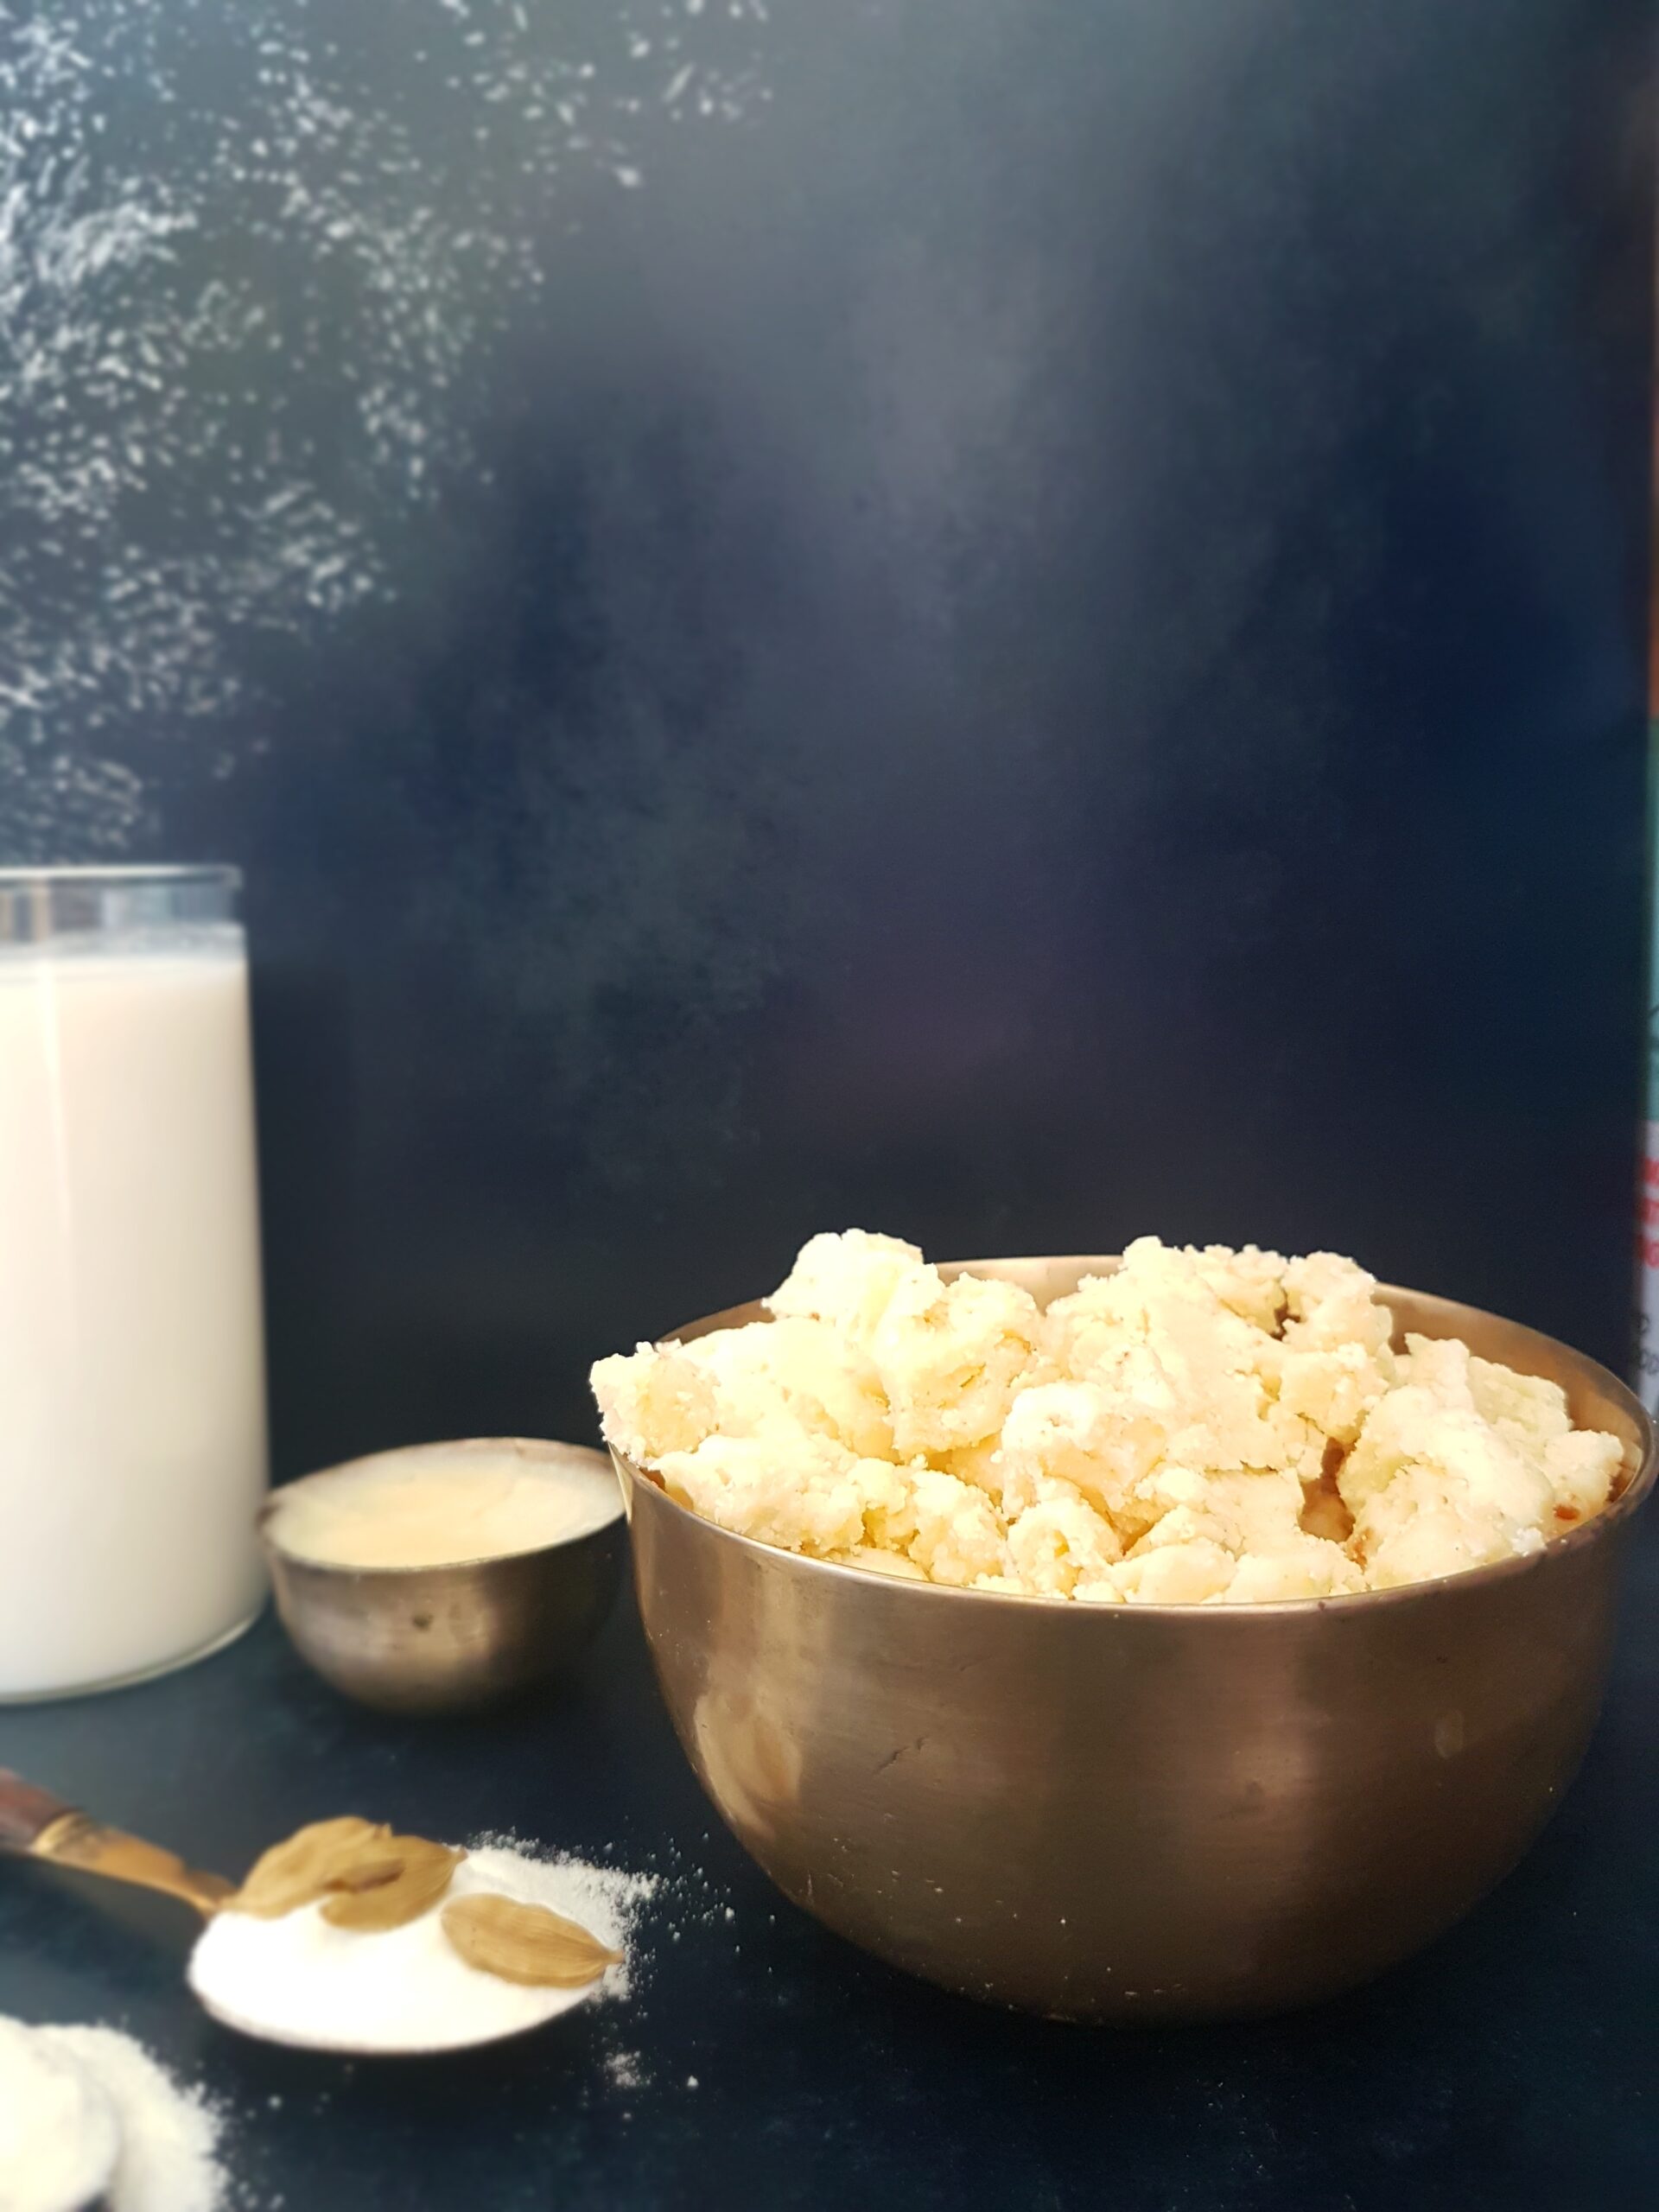
Khoya / Mawa
Recipe origin: India
Time: 15-20 minutes
Ingredients:
Fresh/heavy cream – 1 cup
Milk powder – 1 ½ cup
Ghee – 2 tablespoon
Semolina – 1 teaspoon
Cardamom powder – a pinch (optional)
Method:
In a large, thick-bottomed pan, combine the cream, milk powder and ghee. Place the pan on low flame. Stir occasionally and keep an eagle eye on it; or a hawk eye. Whatever you do, do not leave the mixture unsupervised. The reason being, the mixture will start sticking to the bottom of your pan and burn. You do not want extra brown bits to mar the perfection of your khoya.
Keep scraping down the sides of the pan, allowing the milk solids to mix with the khoya-in-process.
You will reach a point when the mix will become slippery and stop sticking to the pan. Add the semolina and mix well until the mixture becomes squishy.
Whisk it off the gas and let it cool. Your khoya is ready!
You can add the cardamom powder for added flavour. Or just add the flavours you would need to make a sweet of your choice.
1 Maa – 1 Maa – ‘mother’ in some Indian languages
2 Ghee –form of clarified butter; not vanaspati (vegetable ghee)
Photos: Rapti Bhaumick